
Have you ever previewed a course in Articulate Storyline and everything was looking great, then after you published it, suddenly the video and image quality has gotten fuzzier? I’m going to share with you some settings that will improve the quality of your videos and images.
It’s Not Your de-Fault!
Storyline has default settings in both the Player and the Publisher which if left alone, will reduce both image and video quality. Here’s what you can do about it.
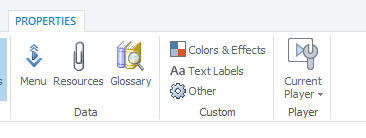
Adjusting the Player
Open the Player and click on Settings.
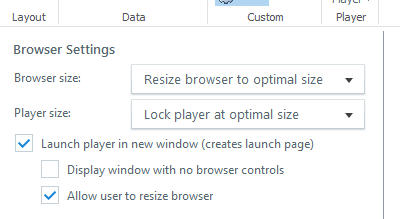
Under Browser Settings, use the dropdowns to select “Resize browser to optimal size” and “Lock player at optimal size”.
Click OK to save your Player settings. When you’re ready to publish, click Publish.
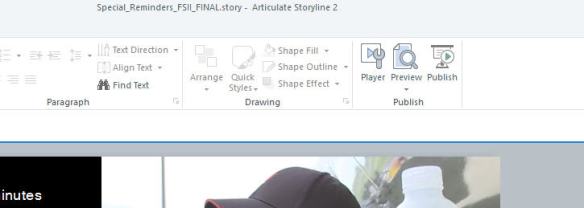
Select the tab on the left to publish to the Web, LMS, Articulate Online. or CD (the settings I’m about to show you don’t apply when you’re publishing to Word). Then under Properties/Quality, click Custom optimization.

Using the sliders, adjust the Video quality and Image quality settings to the maximum (all the way to the right). You an also do the same with the Audio bitrate if you wish.
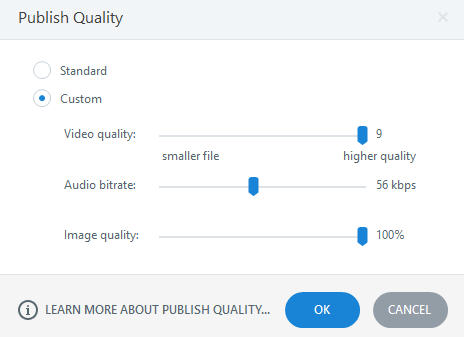
Click OK and make any other adjustments you want, then click Publish.
That’s all there is to it. Making these adjustments to the Storyline Player and the Publish settings will give you the best video, audio, and image quality you can get. Of course, none of these settings will actually improve an existing video or audio file from the original, that would need to happen before you import those elements into Storyline.
