Creating Video from Pictures

One great way to add visual interest and movement on the screen is to create videos from pictures. I like to use the panning technique in Pinnacle Studio, but it’s also easy to create such effects in most video editing programs, and you can even do it to a certain degree in Articulate Storyline.

Click to view Lesson

Use High-Resolution Pictures

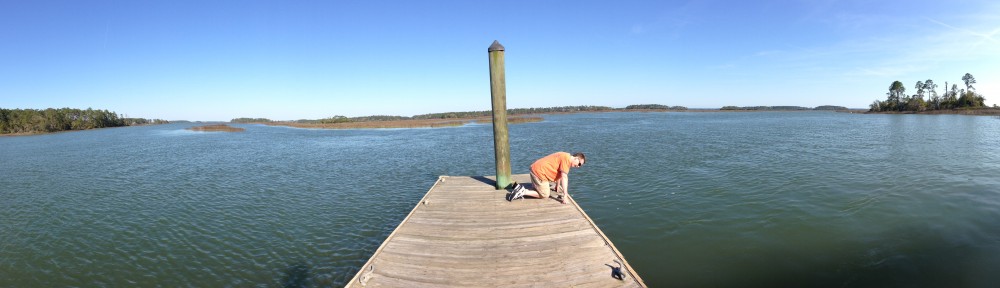
To get the panning effect to work, you’ll need high-resolution pictures. This is because you need to zoom in on part of the picture to have somewhere to pan to. If the pictures you’re using are low-res, when you zoom in a little, you’ll often find the pictures are too blurry or pixelated to look good. Oftentimes, I do not just pan to the left or right, but I’ll also start zoomed in a bit and slowly zoom out. The main objective here is to give the imagery a sense of movement, even though you’re just using still pictures.

Advantages of Panning and Zooming

Let’s say you have 30 seconds of narration on a given screen. By panning/zooming, you can take just one picture and get more mileage out of it. This is because the panning/zooming is creating movement on the screen. And if you do it right, by panning and zooming, you are slowly revealing other people, animals or objects on the screen which were not visible from the beginning.

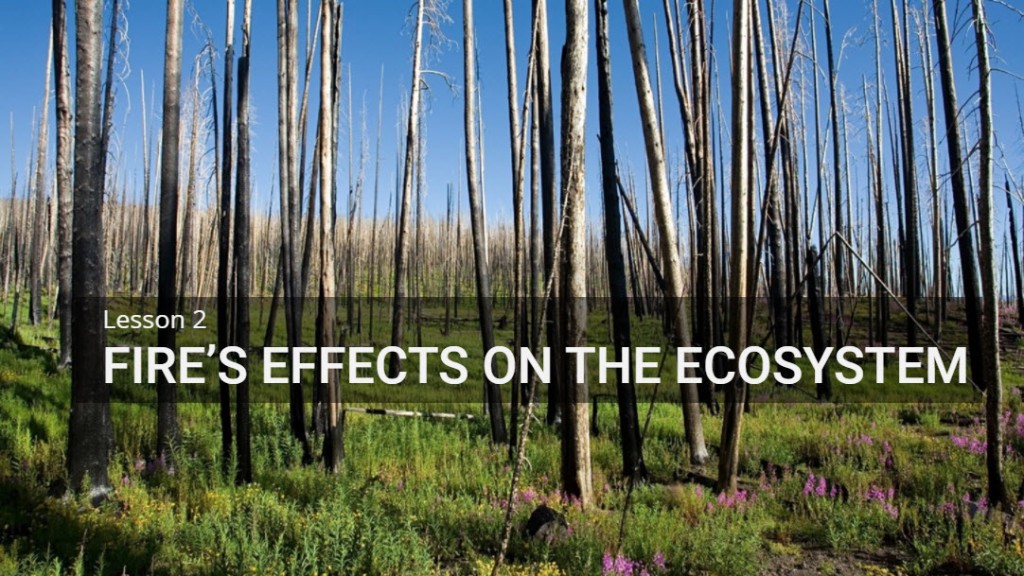
It’s pretty amazing how cinematic you can make your lessons appear with some high-quality pictures and one of the most basic and simple video editing techniques. Check this sample from the Fire in Alaska series out and let me know what you think in the comments. Feel free to ask any questions as well.

You can check out anytime you like…

So, you’re taking an e-learning module on ethics for work and you get to the end of the course and… well, you just took the final quiz and it looks like you passed, and… you’re finished right?… but how do you know for sure? It’s kind of like that Eagles tune Hotel California.

It may seem a bit too obvious for most e-learning designers, and maybe that’s why they forget it. But from the learner’s perspective, how do they know when they’ve finished the module? You’ve got to let them know!

In this week’s e-learning challenge, David Anderson asked us to come up with a creative and interesting way to tell the learner they’ve completed the module. Here’s how I did mine.

I decided it should say “Congratulations, you passed with flying colors” the assumption being they had to take a final quiz before exiting the course. That lead me to search out a free-to-use image of a bird in flight that I would animate.

click to see the finished product

click to see the finished product

Breaking up the Image in PowerPoint
I used PowerPoint’s “remove background” tool to remove the bird from the scene it was flying over. Then I right clicked the image and saved it as a picture (PNG file). Then I duplicated the slide three times and used that same “remove background” tool to isolate the two wings and the body and saved them as images as well. 

bird removed from background

bird removed from background

Creating the Animation Cells in PowerPoint
I created a new PowerPoint file, found a suitable picture of a rainforest from overhead to put in the background of all the slides, then imported the PNG images of the two wings and body to put on top of it. Then I duplicated that slide and adjusted the wings slightly on each and saved all those slides as PNG images.

animation cells in PowerPoint

animation cells in PowerPoint

Animating the Image in PowerPoint
Then I create a third PowerPoint file, imported the slide images I just created showing the wings in different positions, and set each picture to animate in “after previous” (instead of the default “on click”). Using the “save as” option, I selected the WMV file extension to save the PowerPoint as a video instead.

Importing into Storyline
I then created a Storyline file, and imported the WMV file. I set the video to start playing automatically. I also added a trigger telling Storyline to play the video again after it stops, so that the video would loop indefinitely. Lastly, I used the eyedropper tool to match the colors of the player and the text bubbles with the bird and the trees in the picture. Click here to see the finished product.

And now, in case you’re wondering, you’re done reading this article. You can go home now.

Working with Video in PowerPoint – Part Two

In my previous blog, I talked about how you can actually create videos in PowerPoint, save them as WMVs, and import them into other programs.

I also had another idea I wanted to try out in PowerPoint for my band’s music video. I had this image of six picture frames. I thought it would be cool if I could import six videos of us singing in the dark and put them into the picture frames to give it a spooky feel.

Picture frames with transparent ovals

Picture frames with transparent ovals

Using PowerPoint’s Remove Background, I was able to remove the oval shaped part of the picture frame image so that when I put the videos behind the frame, you’d see them through the oval hole. Just click on the image and the Format tab appears, click the Format tab and you’ll see the Remove Background option on the far left, click it to start making your adjustments. Once I removed the oval center of the picture frames it was time to start putting in the videos.

Importing and Editing the Videos in PowerPoint
To import each video; I clicked the Insert tab, and clicked the Video dropdown. I selected Video From File and browsed out to the WMV file I wanted to import and clicked Insert. The video appeared. Just like with any image in PowerPoint, I was able to resize it and crop it into a variety of shapes. I did the same process for all six videos; importing, sizing, and cropping them to fit within the picture frames.

Playback and Animation Settings
I wanted all six videos to start playing immediately and in unison. So, with all six videos selected, I clicked the Playback tab, and selected Automatically from the Start dropdown menu. Then I clicked the Animations tab, and selected With Previous from its Start dropdown menu on the far right. This way, when I save this whole thing as a video file, all six videos will start playing right away.

After adjusting the playback and animation settings, I right-clicked on the image of the six picture frames and clicked Bring to Front from the pop-up menu. I did this part last because it was easier to work with my videos while they were still in the front.

Finished product with singing faces

Finished product with singing faces

Exporting from PowerPoint into Video
And just like in the previous lesson, I clicked File/Save As to save it as a WMV (Windows Media Video) file. Because of the six videos on this slide the saving process took a good amount longer, but as you can see, it worked out great!

As always, let me know in the comments if you have any questions about this whole process. I hope this inspires you to create some incredible videos using PowerPoint.