Creating Video from Pictures

One great way to add visual interest and movement on the screen is to create videos from pictures. I like to use the panning technique in Pinnacle Studio, but it’s also easy to create such effects in most video editing programs, and you can even do it to a certain degree in Articulate Storyline.
Click to view Lesson

Use High-Resolution Pictures

To get the panning effect to work, you’ll need high-resolution pictures. This is because you need to zoom in on part of the picture to have somewhere to pan to. If the pictures you’re using are low-res, when you zoom in a little, you’ll often find the pictures are too blurry or pixelated to look good. Oftentimes, I do not just pan to the left or right, but I’ll also start zoomed in a bit and slowly zoom out. The main objective here is to give the imagery a sense of movement, even though you’re just using still pictures.

Advantages of Panning and Zooming

Let’s say you have 30 seconds of narration on a given screen. By panning/zooming, you can take just one picture and get more mileage out of it. This is because the panning/zooming is creating movement on the screen. And if you do it right, by panning and zooming, you are slowly revealing other people, animals or objects on the screen which were not visible from the beginning.

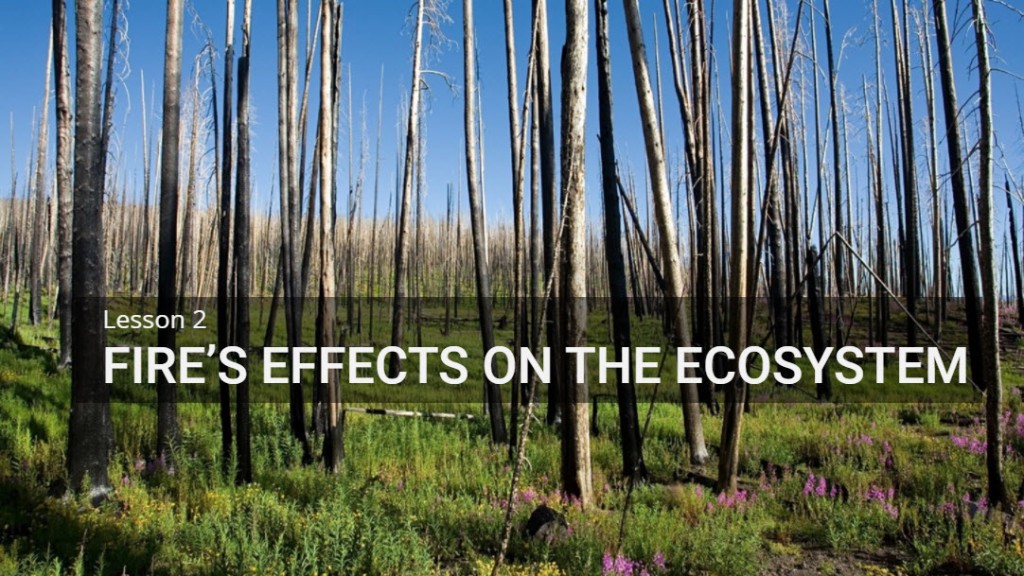
It’s pretty amazing how cinematic you can make your lessons appear with some high-quality pictures and one of the most basic and simple video editing techniques. Check this sample from the Fire in Alaska series out and let me know what you think in the comments. Feel free to ask any questions as well.

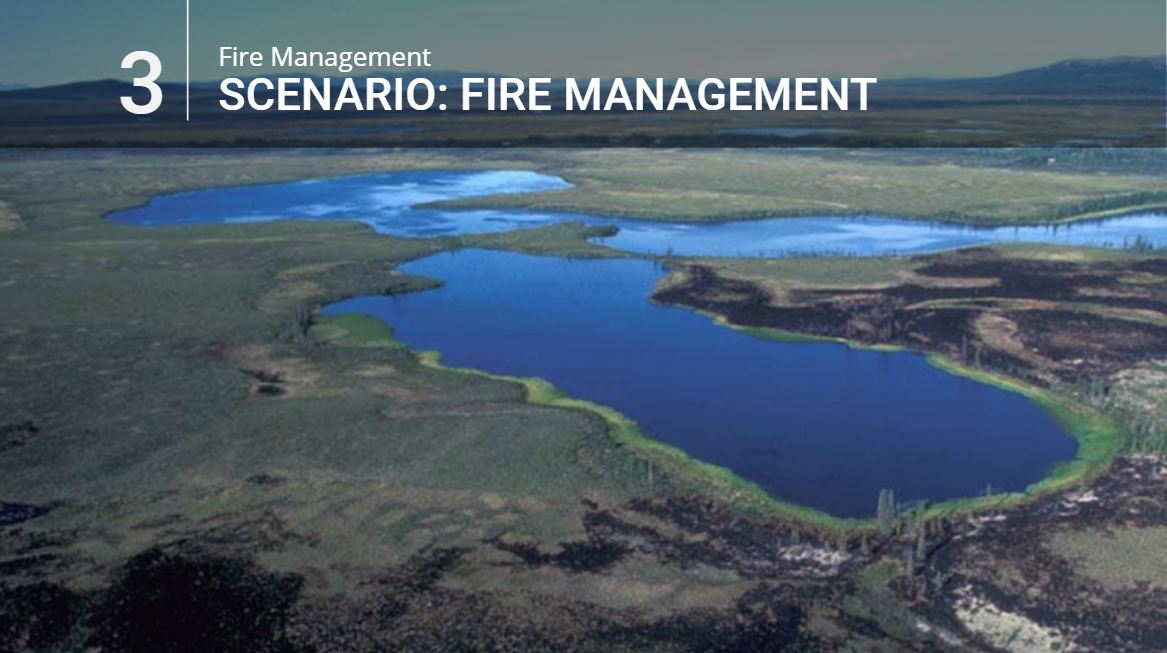
Fighting Wildfires in Alaska

You are a fire manager in Alaska and three wildfires have broken out across the state. You don’t have the resources to fight them all, so you have to prioritize. This interaction is a combination scenario/quiz question incorporating video, music and a sorting interaction.

FireManagementScenario

The Challenge
This week’s eLearning challenge was to create a quiz question with customized feedback. In this scenario, I used the existing feedback layers giving the learner the opportunity to try again if they get it wrong initially. When they do get it right, it takes them to the “correct” feedback layer with a Continue button which takes them to another slide with more detailed feedback in the voiceover and a video giving a bird’s eye view of the landscape and communities we were talking about.

Too Much Information!
There simply was not enough space to incorporate all the feedback the client wanted on the feedback layer itself, so I simply moved that feedback onto a separate slide accessible via the Continue button. For the video, I just took some high resolution still shots of the Alaskan landscape and using the Ken Burns technique, panned across and zoomed in and out of the different shots to add more interest. Check it out here and let me know what you think!

Designing More Engaging Software Simulations

This week, David Anderson’s Articulate E-learning Challenge was to create an engaging software simulation. I used Storyline to create two software simulations, one which also gives the learners the opportunity to try it out themselves and a second one which merely demonstrates what to do, but also adds a closed captioning element for the hearing impaired.

Video Editing Software Simulation
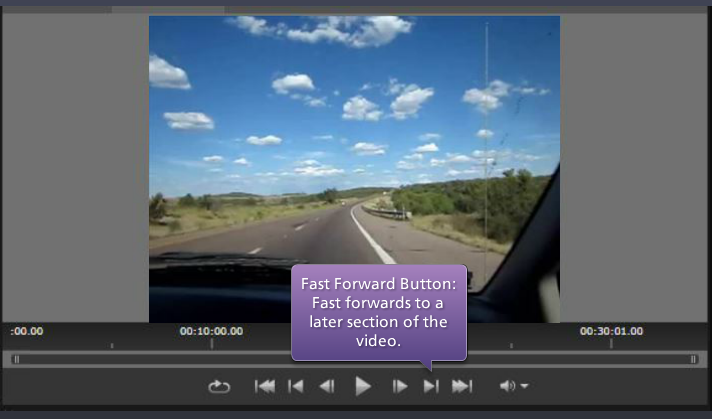
Pinnacle Studio allows you to edit video professionally at a low cost. I created this demo to show users how to use their player and then gives them the opportunity to try it out themselves. Try it out here.

Bubble appears with description of button

Video Editing Software Simulation

For more information on how I created the simulation, visit my previous blog post.

Map Tools Demo with Closed Captioning
I designed this software demonstration/tutorial with closed captioning for Texas Parks and Wildlife. To make the course accessible to people with both hearing and visual limitations, I added closed captioning at the bottom of the screen and also used Storyline’s built in option to name all the graphics on the screen. You can view it here.

MapDrawingDemo

Map Tools Demonstration with Closed Captioning

To read about how to add closed captioning to a Storyline e-learning course, visit my previous blog post about it.

Stretching Your Video Content

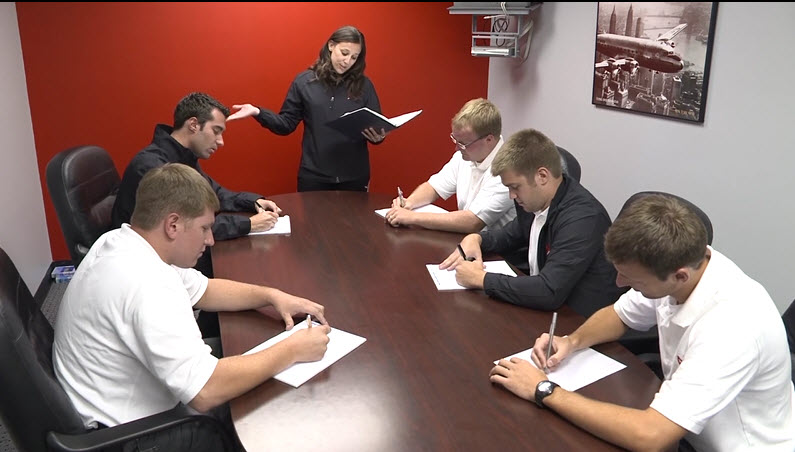
You’re working on an e-learning course and on one of your slides you have 36 seconds of voiceover talking about conducting safety meetings, but you only have 12 seconds of video showing a safety meeting in progress. What are some simple ways you can stretch that video content to match up with your voiceover narration?

Click to View Original Video

Click to View Original Video

Pan and Zoom
I use Pinnacle Studio video editing software, but most other reasonably-priced products out there have pan and zoom effects. I was able to take that 12 seconds of video and copy it two times on the video timeline. I kept the original copy as is, to use it as an establishing shot showing the speaker and participants all together.

For the first copy, I started zoomed in on the right on one of the participants, then panned over to the left to two more participants. And for the second copy, I started zoomed in on the speaker, and then slowly zoomed out to include some of the participants in the shot.

Click to View Enhanced Video

Click to View Enhanced Video

Most people will never notice that they are essentially looking at the same footage three times in a row, and because of the way I approached the panning and zooming effects, it gave the whole thing a sense of composition and symmetry.

Take a Still Shot
Another very simple approach is to take a still shot of part of the video and then stretch that still shot to whatever length you need it to be. I have also added pan and zoom effects to those still shots to give them a little movement as one of my clients doesn’t like pictures to linger too long without anything more happening on the screen.

Click to View Still Shot With Zoom

Click to View Still Shot With Zoom

Pinnacle Studio has a snapshot feature which allows you to get a still shot from video, or you can play and pause the video at the desired spot and use SnagIt to capture your still shot.

I hope these very simple methods help you to stretch your video content and keep things moving at an engaging pace for your learners. What are some methods you’ve come up with to stretch your video content? Feel free to share any ideas you have in the comments.

Am I in Sync?: Using Video in E-learning

One of my clients provides fuel and services to the exciting aeronautics industry. They LOVE video and use it extensively in their training courses. In designing a number of courses for them, I had the opportunity to do a lot of video editing. As much as I enjoy working with video, I always want it to support and not detract from the message being conveyed in each scene.

This week’s Articulate e-learning challenge is all about how to sync video up to your content. So in this article, I will share three different ways to do just that!

Back and Forth

In this first example, I had a picture and text layout that I really liked. So, I brought out each bullet with the picture and then faded in the video to support the more detailed explanation of each bullet, going back and forth between the still shot and the video.

No Bullets, Just Video

For this one, I didn’t use any bullets, but just edited the video so it would be in sync to the audio content. So when she’s talking about smiling or shaking hands, that’s what you see on the screen. I also edited the video so that the actual sound from the video comes in for just a couple seconds so you can hear the CSR saying “Hello, Mr. Smith…”

I used Pinnacle Studio video editing software which allows you to have video on separate tracks, just like in a music recording studio soundboard. I clipped out that little bit of video with the CSR greeting the customer and put it on a separate track from the rest of the video which was on a muted track. Then, for the voiceover audio track, I added a couple seconds of silence, so the narrator would pause while the CSR was talking. It’s a neat effect, and it also gets the learner’s attention!

You can add silence to any track either in your video editing software or after importing it into Articulate Storyline (which is my favorite e-learning design and development tool).

Bullets on Top of Video

In this final example, I added a semi-transparent rectangle on top of the video and animated in the bullets in sync to the voiceover. This is my most common approach.

Whatever media you are using, always strive to make it support the content. Yes, using advanced animations and creative visual effects CAN effectively keep the learner engaged in the course, but don’t get too carried away and end up distracting the learner. Let me know what you think. Do you have any other ideas or approaches to using video you’d like to share?

Working with Video in PowerPoint – Part Two

In my previous blog, I talked about how you can actually create videos in PowerPoint, save them as WMVs, and import them into other programs.

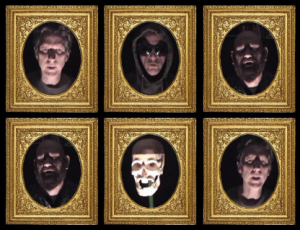
I also had another idea I wanted to try out in PowerPoint for my band’s music video. I had this image of six picture frames. I thought it would be cool if I could import six videos of us singing in the dark and put them into the picture frames to give it a spooky feel.

Picture frames with transparent ovals

Picture frames with transparent ovals

Using PowerPoint’s Remove Background, I was able to remove the oval shaped part of the picture frame image so that when I put the videos behind the frame, you’d see them through the oval hole. Just click on the image and the Format tab appears, click the Format tab and you’ll see the Remove Background option on the far left, click it to start making your adjustments. Once I removed the oval center of the picture frames it was time to start putting in the videos.

Importing and Editing the Videos in PowerPoint
To import each video; I clicked the Insert tab, and clicked the Video dropdown. I selected Video From File and browsed out to the WMV file I wanted to import and clicked Insert. The video appeared. Just like with any image in PowerPoint, I was able to resize it and crop it into a variety of shapes. I did the same process for all six videos; importing, sizing, and cropping them to fit within the picture frames.

Playback and Animation Settings
I wanted all six videos to start playing immediately and in unison. So, with all six videos selected, I clicked the Playback tab, and selected Automatically from the Start dropdown menu. Then I clicked the Animations tab, and selected With Previous from its Start dropdown menu on the far right. This way, when I save this whole thing as a video file, all six videos will start playing right away.

After adjusting the playback and animation settings, I right-clicked on the image of the six picture frames and clicked Bring to Front from the pop-up menu. I did this part last because it was easier to work with my videos while they were still in the front.

Finished product with singing faces

Finished product with singing faces

Exporting from PowerPoint into Video
And just like in the previous lesson, I clicked File/Save As to save it as a WMV (Windows Media Video) file. Because of the six videos on this slide the saving process took a good amount longer, but as you can see, it worked out great!

As always, let me know in the comments if you have any questions about this whole process. I hope this inspires you to create some incredible videos using PowerPoint.